
Tools & Materials You’ll Need:
-
Flathead screwdriver
-
Phillips screwdriver
-
Voltage tester (for safety)
-
Replacement light switch (single-pole or as needed)
-
Needle-nose pliers (optional)
-
Electrical tape (optional)
Important: Safety First
Before working with anything electrical, always turn off the power at the main circuit breaker and test for voltage using a voltage tester. Never assume the power is off just because the light isn’t working.
Step-by-Step: How to Fix a Broken Light Switch
1. Turn Off Power at the Circuit Breaker
Go to your home’s breaker box and flip the switch that controls power to the room where the broken switch is located. If you’re not sure which one, turn off the main power as a precaution.
Pro Tip: Label your circuit breakers for future ease if they’re not already.
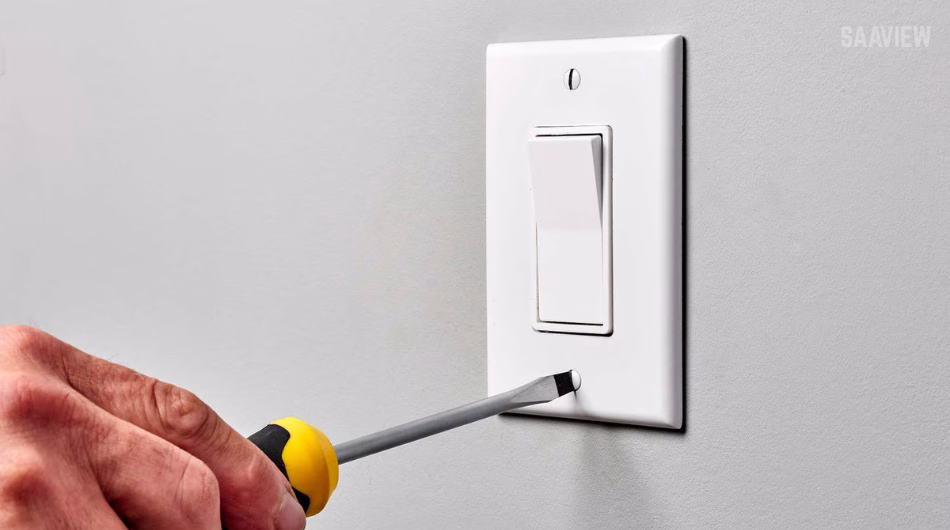
2. Remove the Switch Cover Plate
Use a flathead screwdriver to unscrew the faceplate of the switch. Gently pull the plate off and set it aside.
Be careful not to touch any wires just yet.
3. Test for Power (Safety Check)
Use a non-contact voltage tester to check the wires and terminals inside the box. If there’s any indication of live current, double-check your breaker — the power must be completely off before you continue.
4. Unscrew the Light Switch
Unscrew the two mounting screws at the top and bottom of the switch. Carefully pull the switch forward from the wall box to expose the wiring behind it.
5. Take Note of the Wiring
Before disconnecting anything, take a clear photo of the wiring setup — this will help during installation. Most basic single-pole switches will have:
-
One or two black (hot) wires attached to brass screws
-
Possibly a green or bare copper ground wire connected to the green screw
-
No neutral wire (usually white) connected directly to the switch
6. Disconnect and Remove the Old Switch
Loosen the terminal screws and gently remove the wires from the old switch. If the wires are inserted into backstab holes, use a small screwdriver to release them.
7. Attach Wires to the New Switch
Connect the wires to the new switch in the same positions as the old one:
-
Black wire(s) to the brass terminal screws
-
Ground wire (if present) to the green screw
-
Tighten screws securely and ensure wires are wrapped clockwise for good contact
Optional Tip: Wrap the entire switch body in electrical tape for added safety.
8. Mount the New Switch
Gently push the wires back into the electrical box and align the switch in the center. Screw it into place using the provided mounting screws.
9. Reattach the Cover Plate
Place the cover plate back over the switch and tighten the screws. Avoid overtightening to prevent cracking the plate.
10. Turn Power Back On & Test
Go back to the breaker box and restore power to the circuit. Flip the switch to see if the light turns on or off properly. If it works as expected — great job!
If the switch still doesn’t work, double-check wiring or consult an electrician.
Final Thoughts
Fixing a broken light switch is one of the most approachable DIY electrical tasks — and doing it yourself can save both time and money. Just remember: Safety first, always. With the right tools and these simple steps, your switch will be good as new in under 30 minutes.

